Tile restoration advice13 November 2026
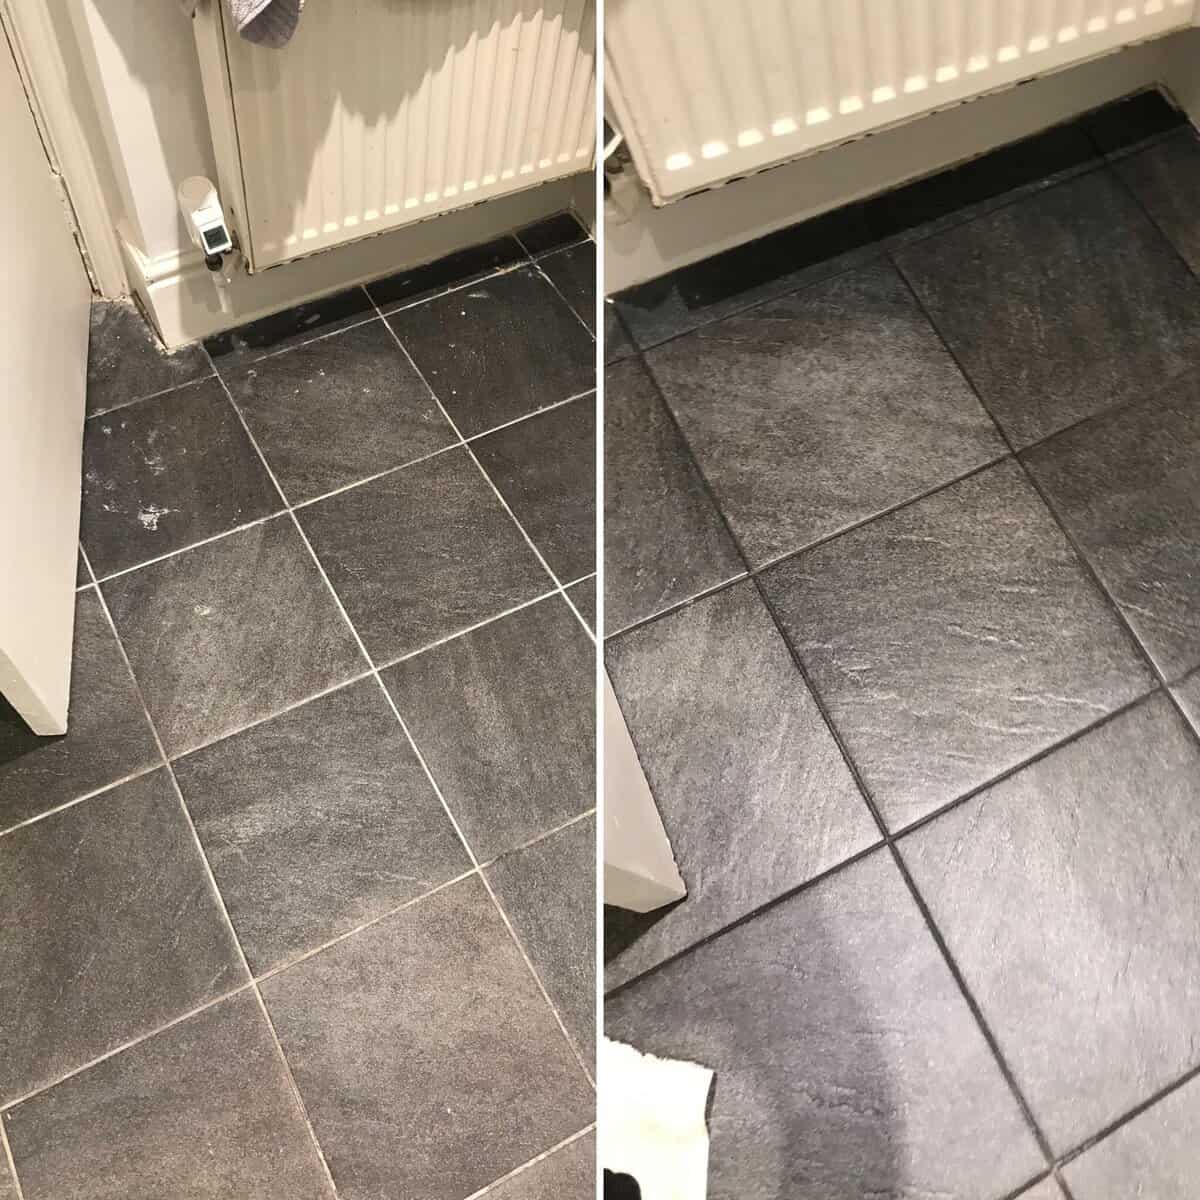
Ceramic Tile and Grout Cleaning: Professional Restoration Options
What professional ceramic tile cleaning can improve, how to treat stained grout and when sealing or replacement may be more appropriate.

A practical guide to assessing older pine floorboards before sanding, choosing the right preparation and understanding the finishing process.
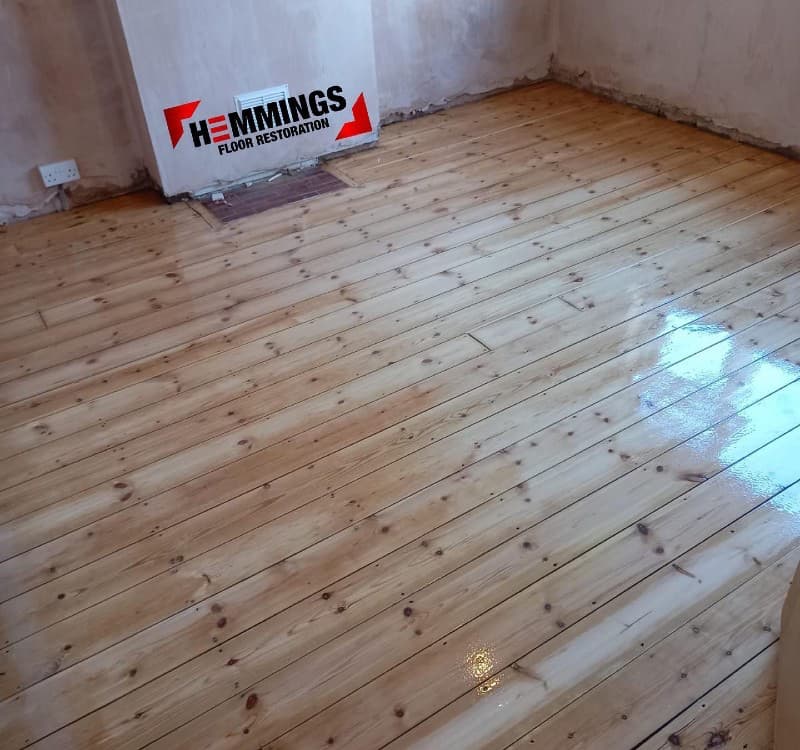
Original pine floorboards are often uncovered beneath carpets in older homes. With the right preparation, some can become an attractive finished surface in their own right. Others may need repairs or may not be suitable for exposing.
Look for loose boards, damaged edges, raised fixings, large gaps and previous coatings. Check for hidden pipes, wiring or other services before attempting to refix anything. Unknown historic finishes, dust and adhesives may present health risks; where there is uncertainty, obtain appropriate professional advice before disturbing them.
A typical professional restoration moves from removing old surface finish to progressively finer sanding, with edges, corners and repairs considered alongside the main floor. Grit sequences are adjusted to suit the timber's condition rather than applying a fixed recipe to every room.
Dust extraction helps control airborne material, and careful machine handling helps prevent grooves or unevenness. Once prepared, the boards can be primed, stained, oiled or lacquered using a compatible system and the manufacturer's instructions.
Seek professional help where boards move, the surface is thin or heavily uneven, there is suspected dampness or contamination, or you are uncertain about machinery and product compatibility.

What professional ceramic tile cleaning can improve, how to treat stained grout and when sealing or replacement may be more appropriate.
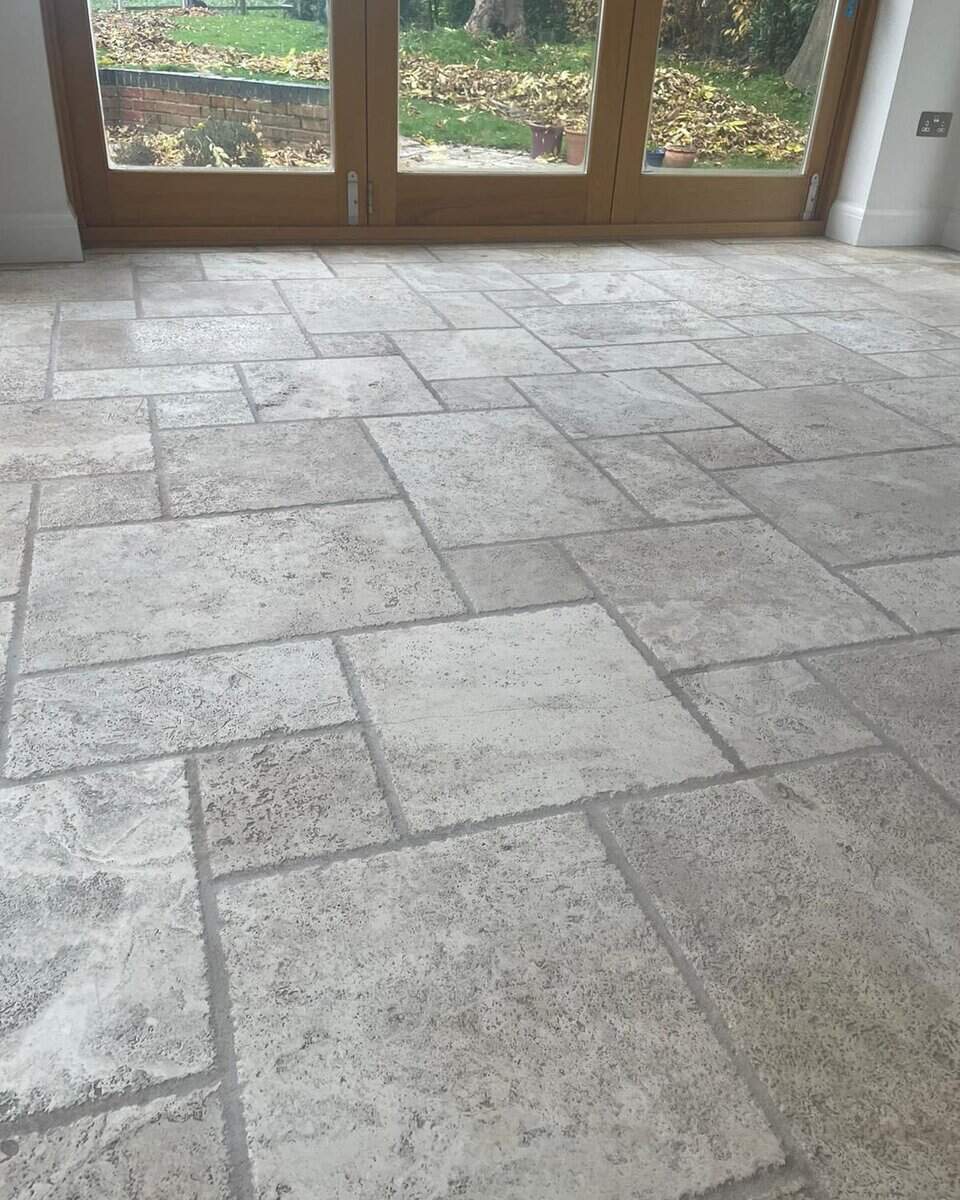
How professional travertine floor restoration can address soil, small voids, worn finishes and suitable polishing or sealing treatments.
When granite floor cleaning, surface polishing or local repairs may help, and why even a hard stone is not completely immune to damage.
Photographs, approximate measurements and a postcode are enough for us to give you an initial view.